Taught by Emilio | @eyesofanomad
Composition is one of the most important factors in photography, and it’s one that you can start practicing now even if you don’t have a professional camera - you can use every single one of these techniques with the camera you already have, even if that’s your phone.
One of the simplest techniques that you can learn is the rule of thirds. The idea is if you were to break an image into thirds - vertically and horizontally - and then position points of interest or your subject along those lines or intersections, it generally makes an image more interesting.
Studies have shown that when someone is viewing an image their eyes tend to naturally wander to one of the intersection points rather than the center of the shot – so by using the rule of thirds it makes an image just naturally feel ‘balanced’ and more interesting than placing a subject right in the middle of the frame.
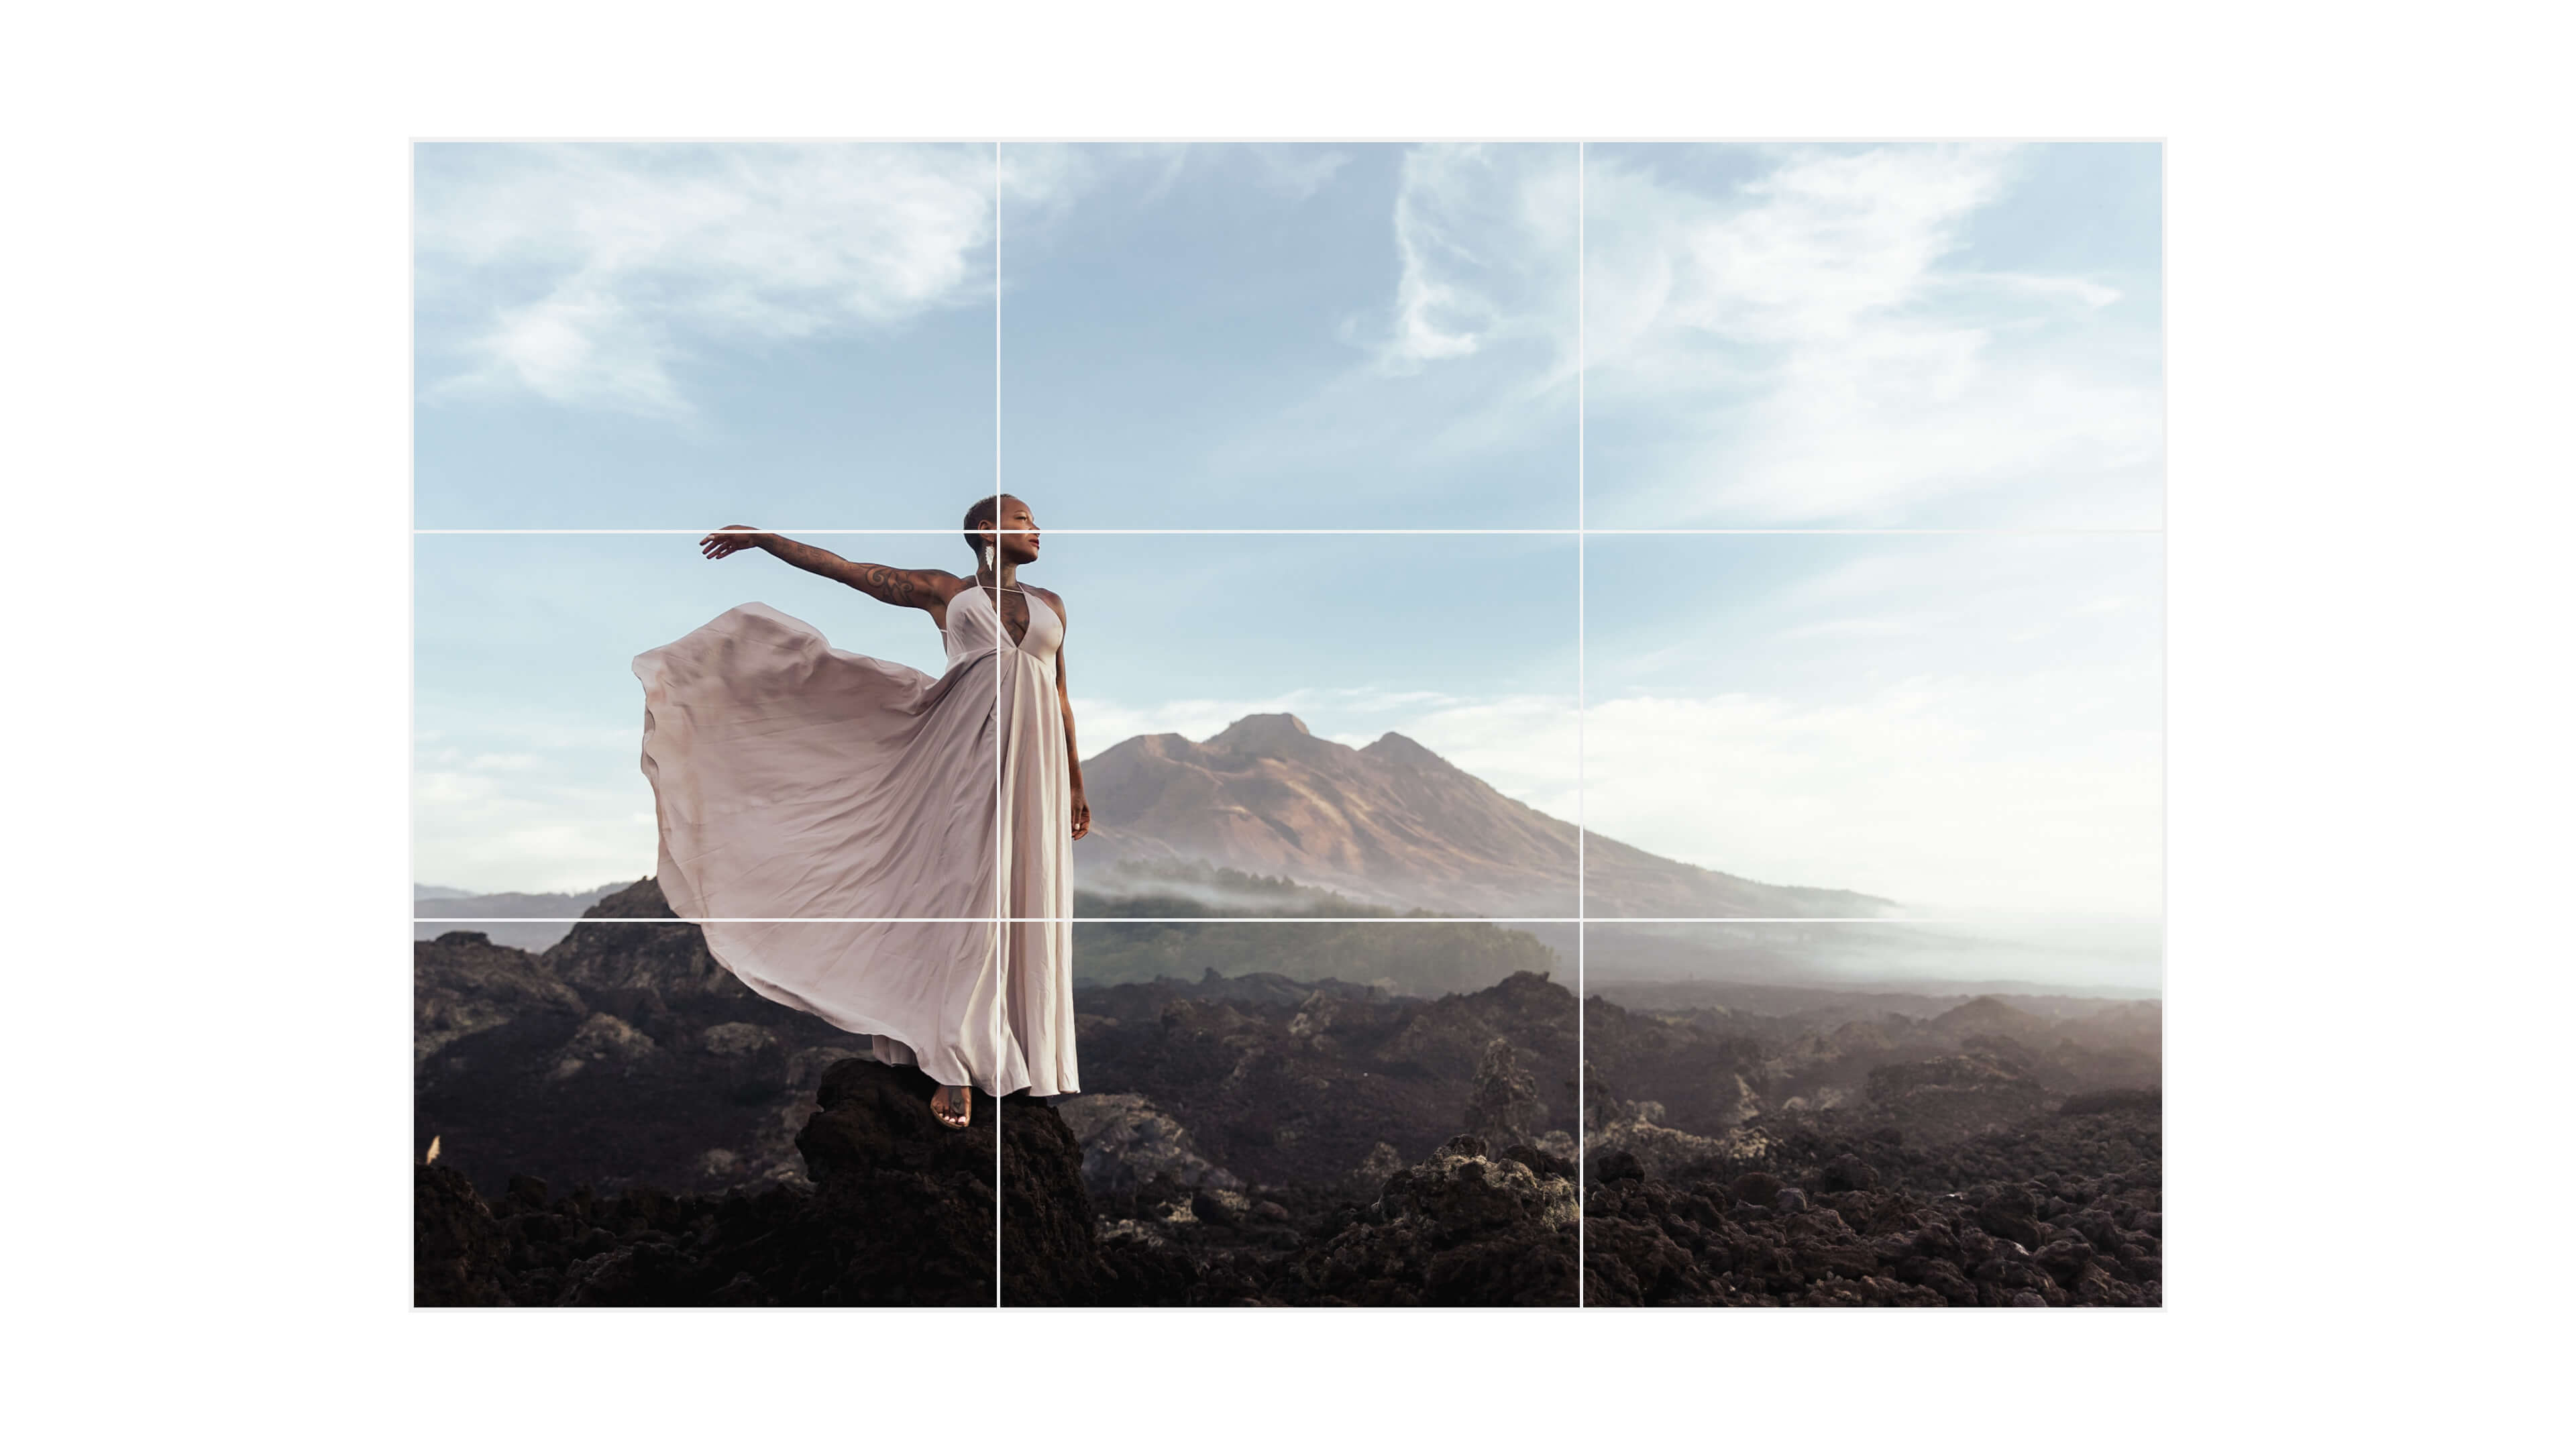

Tip: Try to place the horizon on one of the thirds to make the image feel more balanced.
That said, it doesn’t mean that you should never position your subject somewhere other than these lines. Afterall, it’s just a simple guide to play around with. But it’s also a composition technique that you can easily drill into your brain - so even under the most stressful shooting conditions, or in conditions that might be boring with very little in the way of other framing, I have this simple composition to fall back on.
When you’re shooting, you can eyeball it and just roughly aim for the thirds, or you can turn on the grid lines on your camera settings and use these to help line up your composition easily. Personally, even though I can eyeball it these days with pretty decent accuracy, I still have my grid lines turned on just to give me that little bit of reassurance that it’s all framed up nicely.
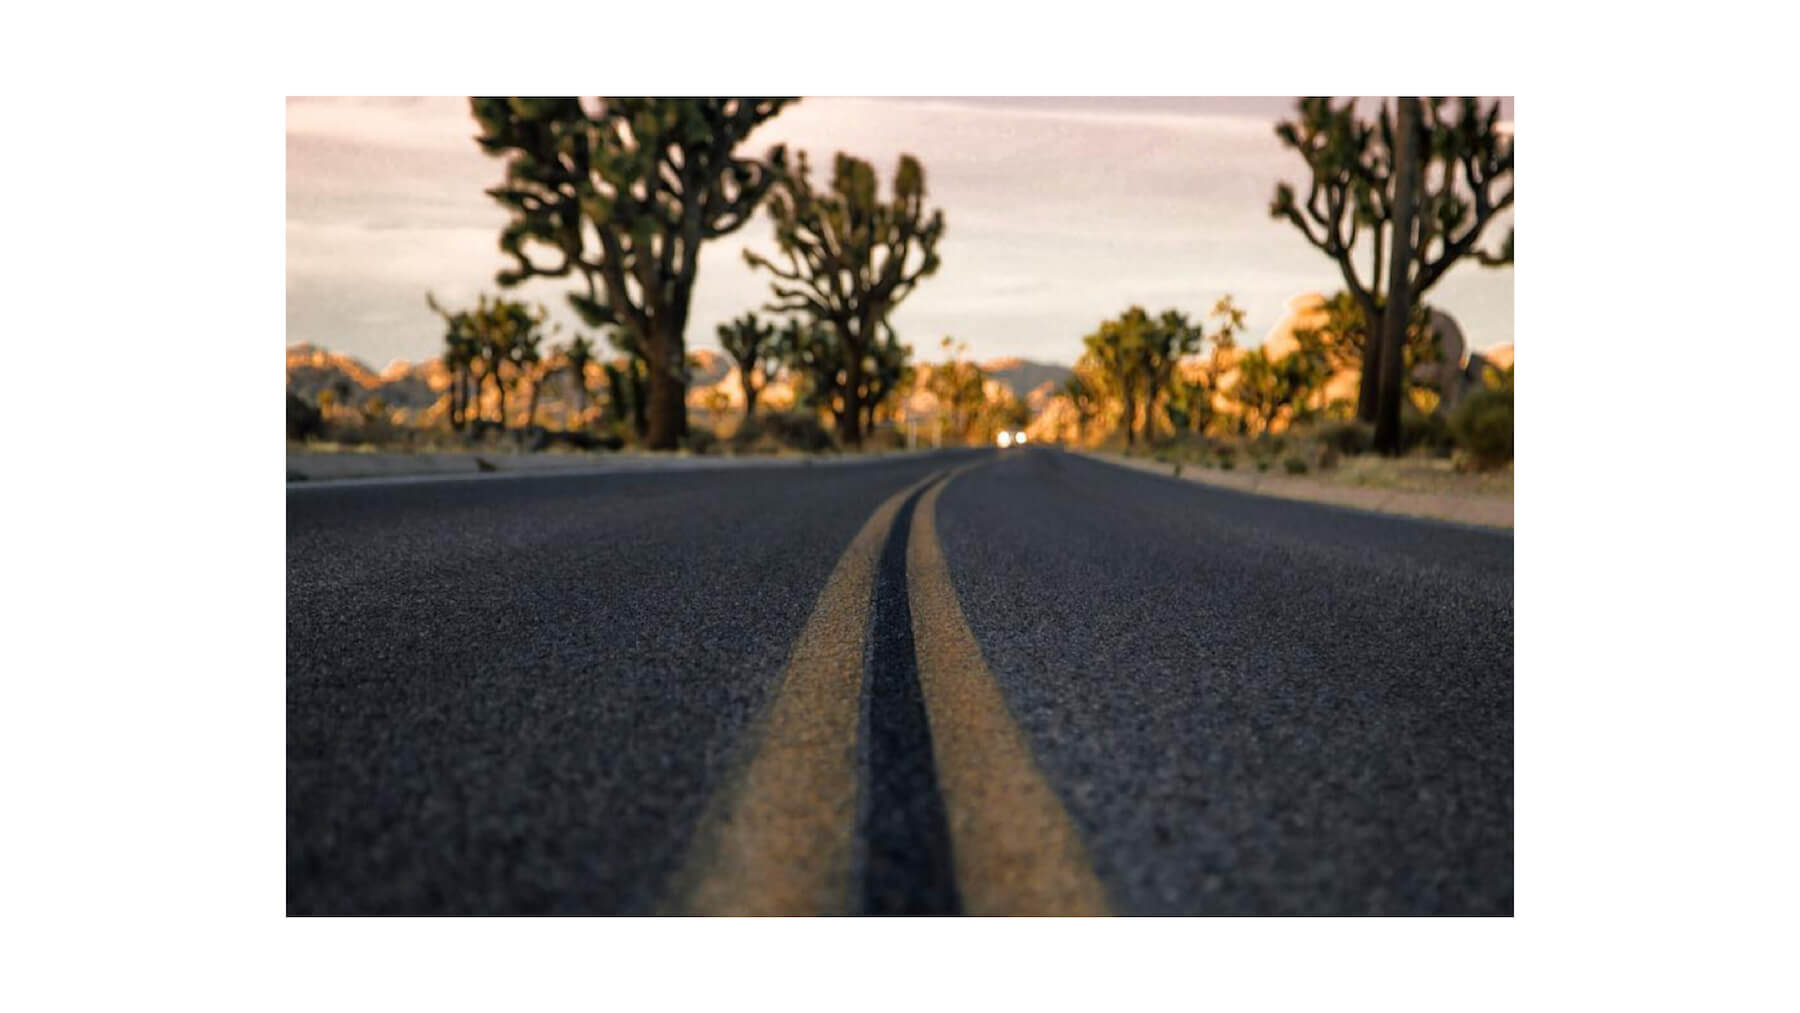
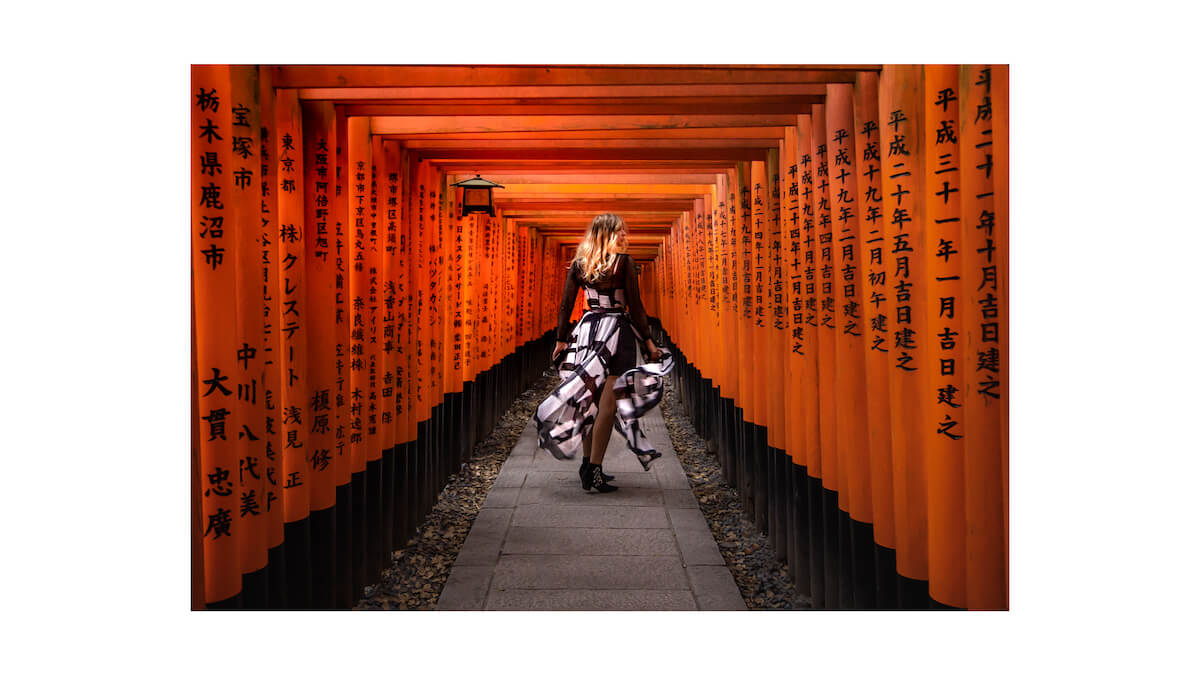
Leading lines are one of my favourites for helping give that edge to your image even if you’re only a total beginner. The idea is that there are natural lines that you position to start at the edges or corners of the frame and use that to draw the viewer’s attention towards the subject.
Leading lines are everywhere. When used correctly, they can help create depth and transport the viewer into the image, almost sucking them into the frame.
There are lots of examples of leading lines in everyday life that you might be completely obvious to, like buildings, crosswalks, pathways, mountain ridges, stairways, etc.
Depending on your intention, you might:
Create depth and perspective by positioning a strong line leading from the foreground to the background:
Create a visual journey from one part of your image to another:

Place your subject where the lines converge to give the subject more importance in the frame and draw the viewer’s attention directly to it:
Make a cyclical composition, with the lines leading the eye in a circular motion and never out of the frame:

It’s actually pretty interesting how after this, you’ll start to look at the world around you in a completely different way. And to be honest, it helped me appreciate a lot more of the world around me - I went from mostly oblivious to the little things to being hyper aware of all the intrinsically beautiful elements around me.
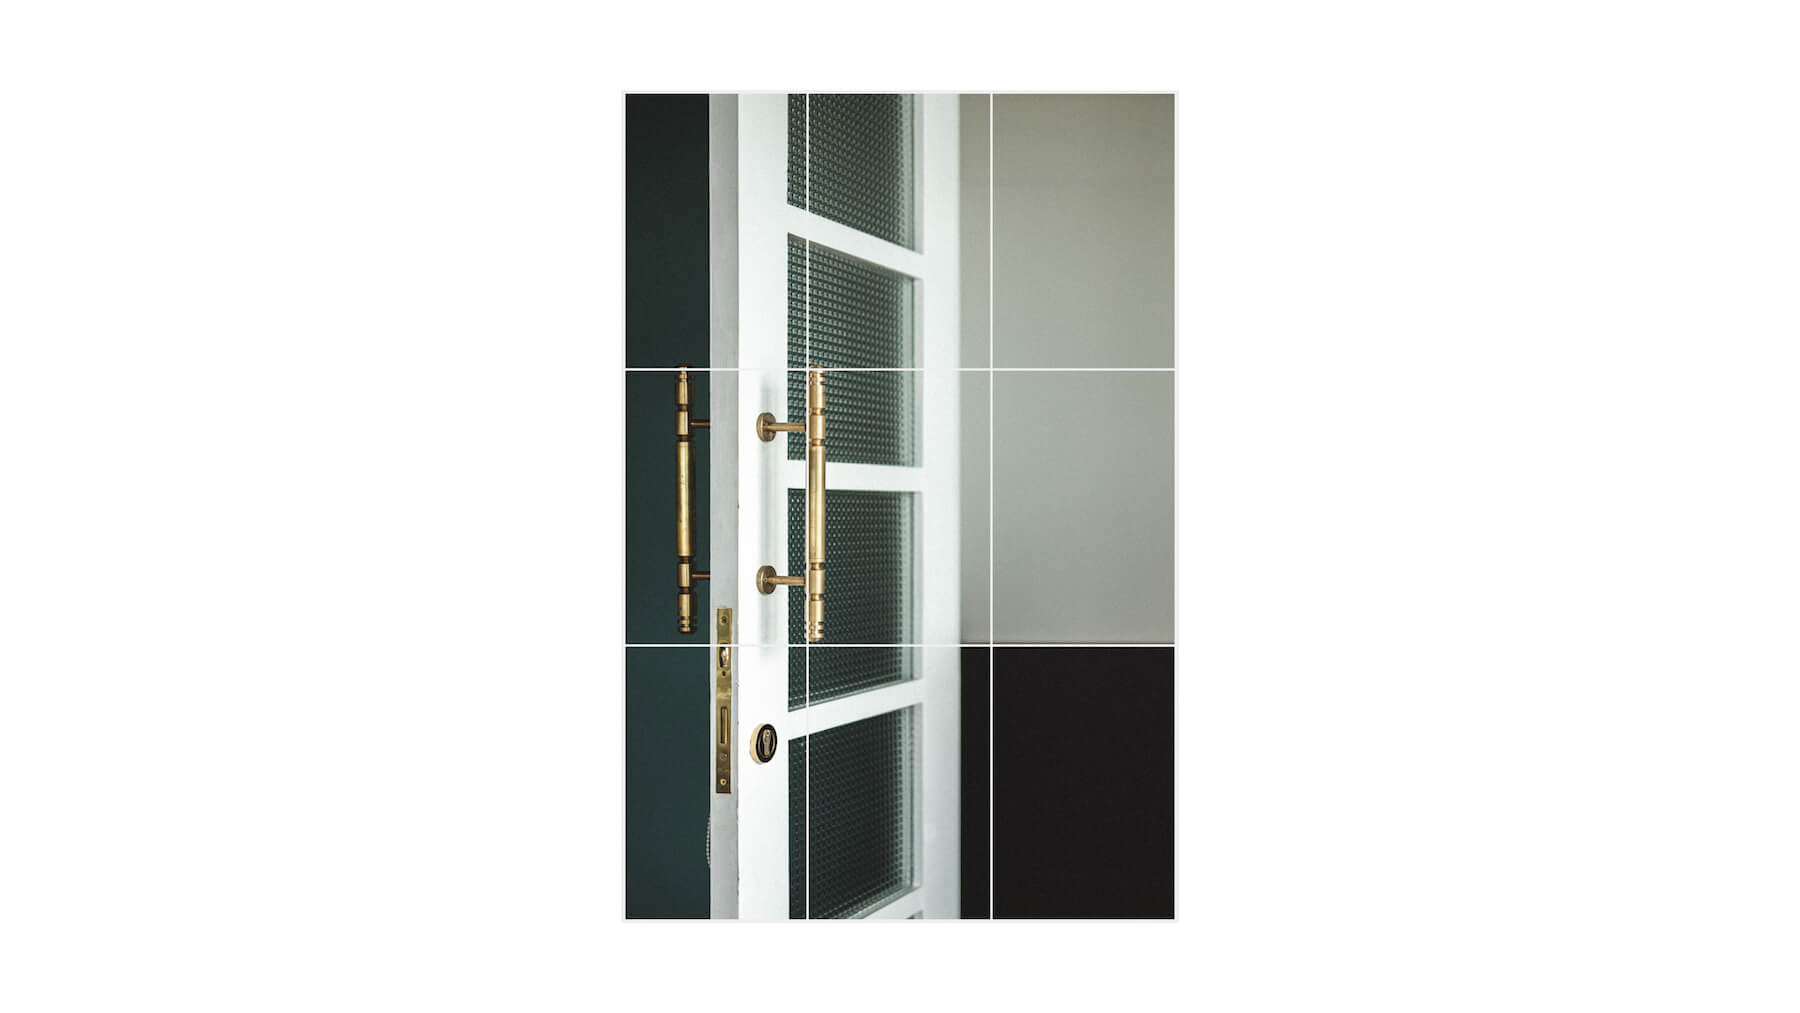
With framing you are directly influencing the viewer’s gaze by introducing elements in the environment as a frame for your subject, placing them at the edge area of our shot. These frames can be a doorway, archway, trees, etc.
Or even with a literally window or door.
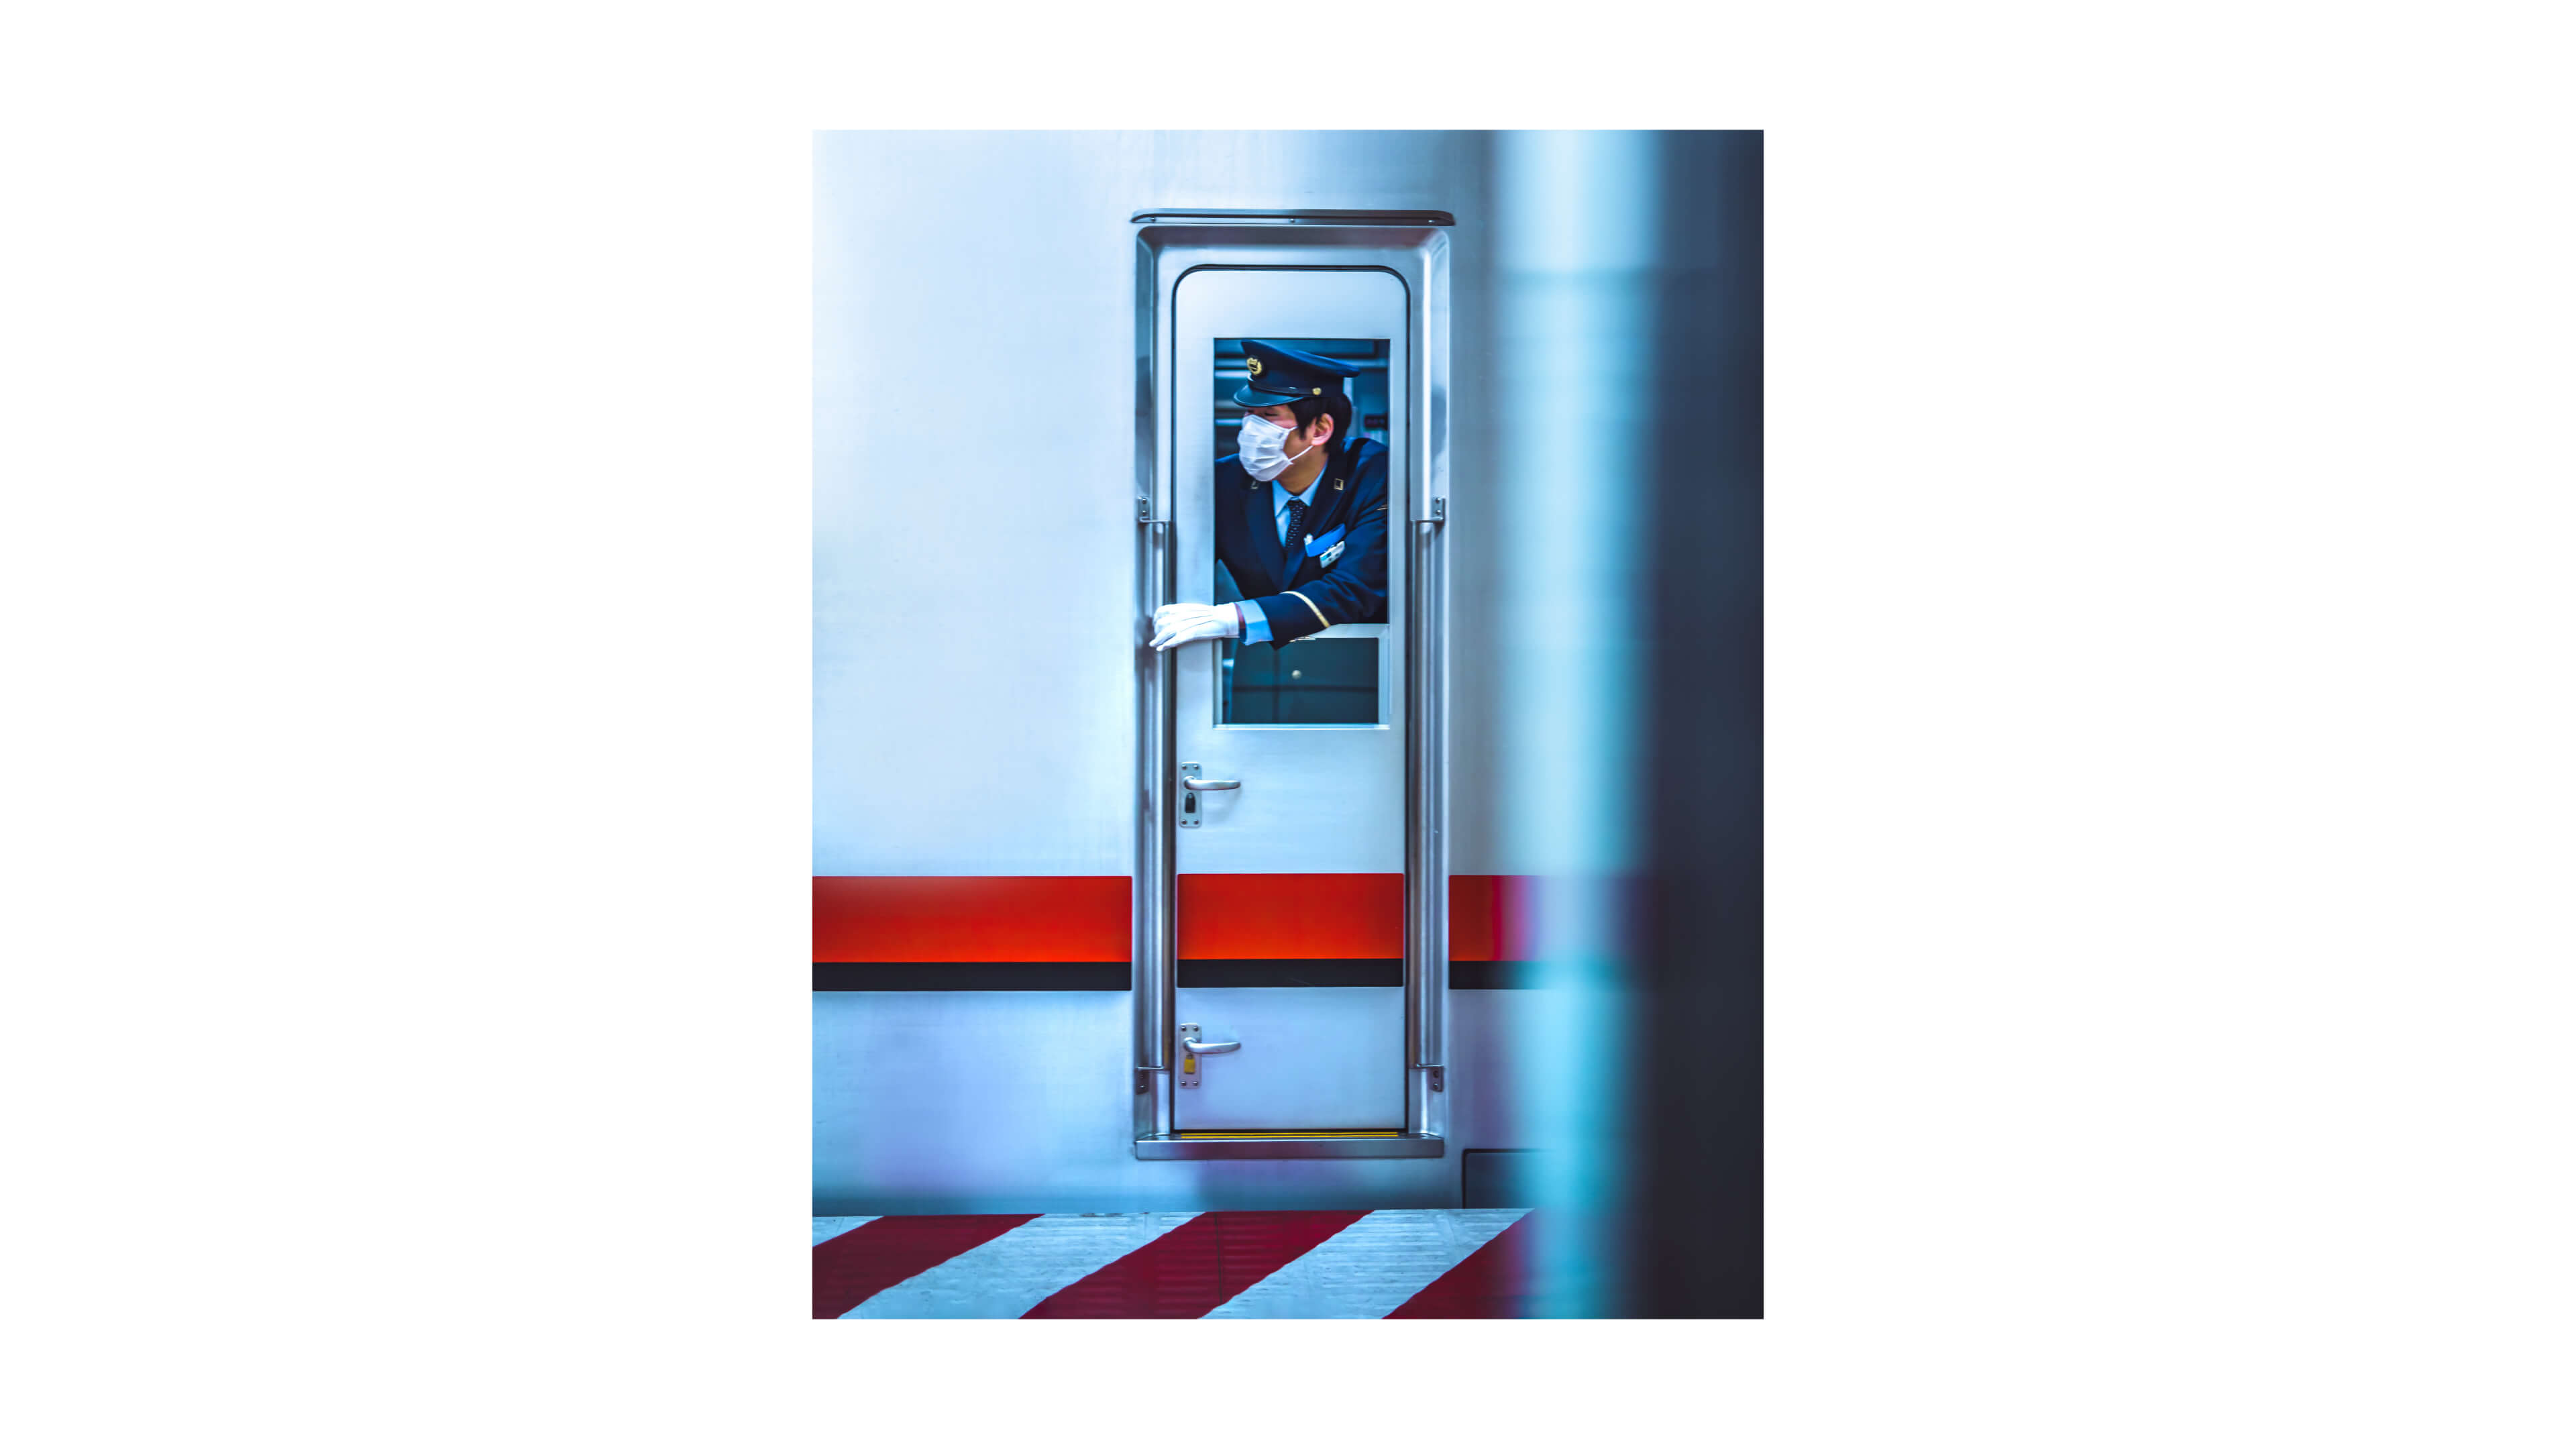
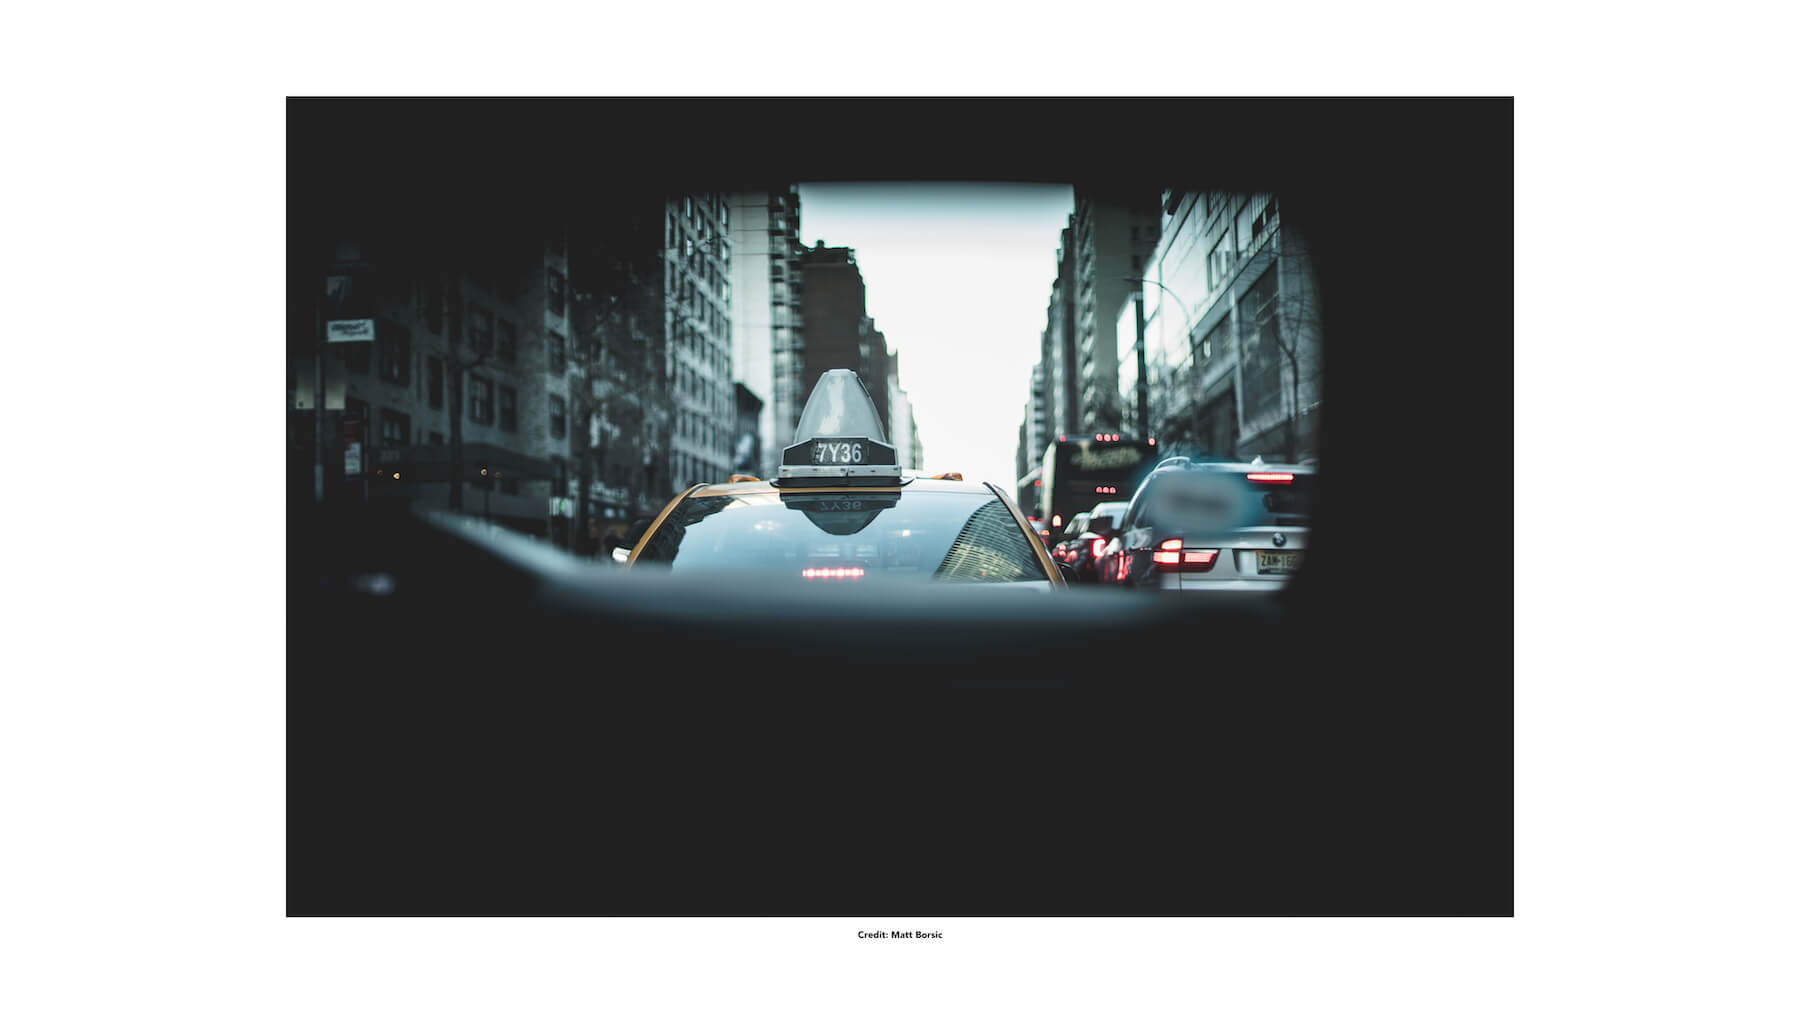
As you can see from these examples, it’s not that framing needs to be perfect as though to be a picture frame on your wall, it’s just meant to be used as a way to focus the attention on the subject.
Tip: Practise the framing technique with more obvious choices first (i.e. a doorway). Then start to experiment more once you’re comfortable with that. Position yourself around the space space and don’t hesitate to move around your subject to find the most interesting angle, or to find a background that appeals to you more so that you can tell your own story of a scene that only existed at a specific time and place. Remember that there’s no right or wrong to this!
In nature, we’re surrounded by symmetry and patterns, whether natural or artificial. In photography, symmetry is a very powerful tool for creating a feeling of harmony, perfection and balance to a composition. And even though it’s primarily used in architecture photography, it’s great for other subjects as well.
One of the great ways to use symmetry in your composition is by creating reflections, like this shot here that we took over an infinity pool in Bali.
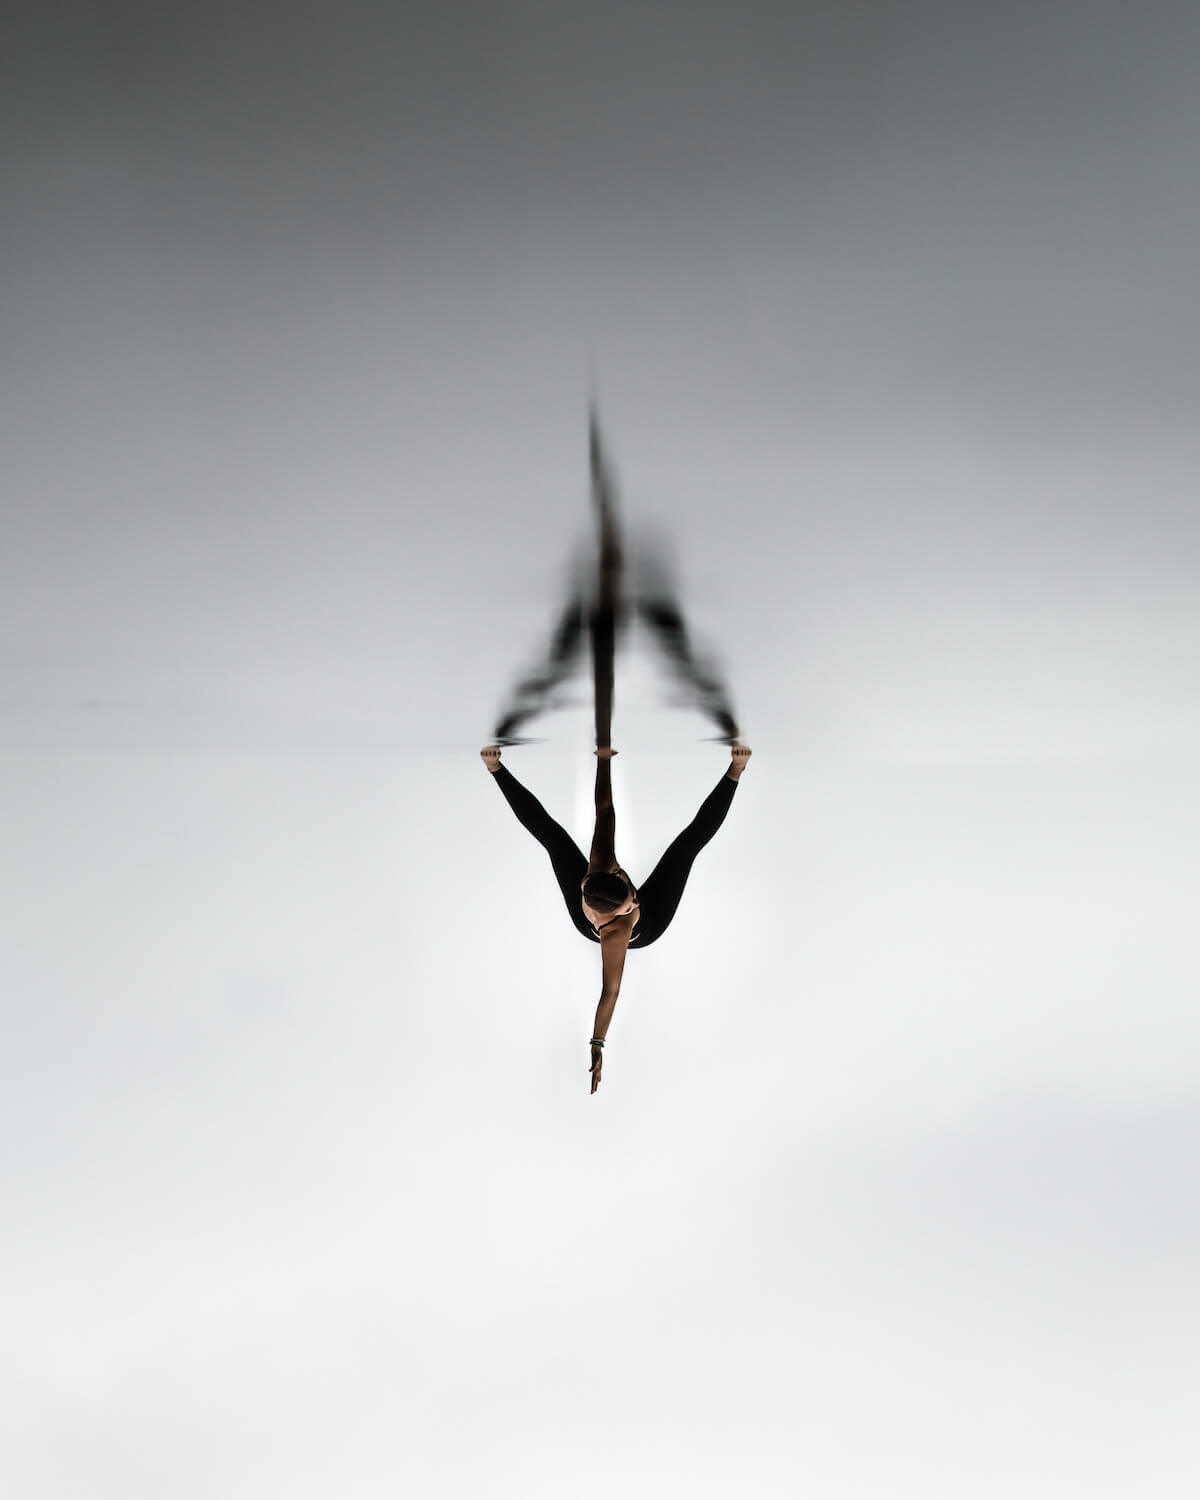
Symmetry is easy to create so long as you concentrate & really focus on the little details. If we are a little off-center or the image is crooked, we can quickly lose the effect. Positioning with thirds and positioning right in the center can both have a great effect, but if you’re halfway in between the two, it won’t do anyone a favor.

Tip: In nature, we don’t often find everything 100% perfectly symmetrical. And if you find it’s hard to nail it perfectly in-camera, remember that we can always crop it down in the editing program like Lightroom. So whenever you want to create a symmetrical composition, take a step back so that you can have some wiggle room to crop it down later.